
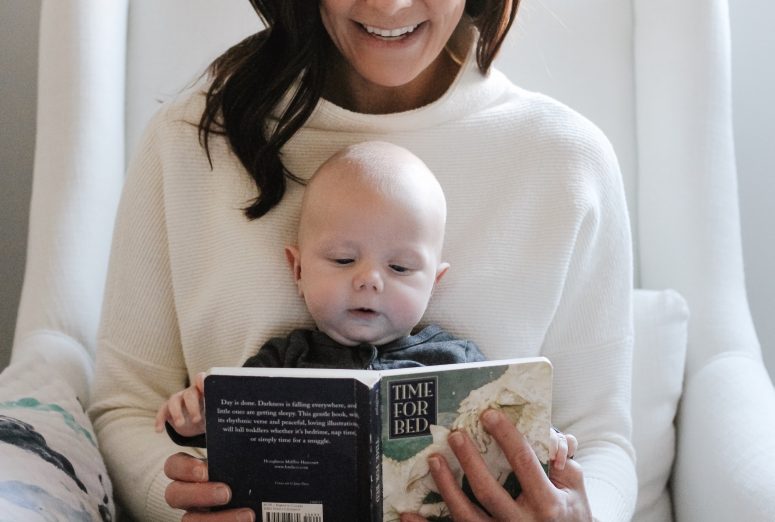
As a busy Mama of two, I am always up for a solid Mom Hack or a convenient product. I work outside of the home, I have two toddlers, and my husband is an entrepreneur running many businesses– so, one of the three is always keeping me on my toes! Bottom line: I will take all the help and tricks I can get, I have little time to spend getting ready, and if I’m going to do something, it better be easy!
Now is also a good time to confess that I love starting my day with a cup of coffee. Delightful right? Only one problem- I didn’t realize this little habit was taking a toll on my smile… until I started working with Smile Brilliant. (As in, picture me, contemplating using the product and flashing a smile in the mirror thinking “do I need teeth whitening” and realizing that my used-to-be sparkly white teeth were a little, errrr…. not white. Gasp).
I am so happy with the results and feel WAY more confident having my white and bright smile back! I’ve partnered with Smile Brilliant to give a teeth whitening kit to one lucky reader valued at $139 USD*. ENTER GIVEAWAY HERE. You can also use the code: mamawrites20 to receive $20 OFF custom trays!
Keep reading to see my results!
I haven’t whitened my teeth since just before Mike and I got married (6 years ago) and at the time, I had custom trays made by my dentist. Cha-ching. I was curious to see how if and how I could make custom trays at home and what the results would be like. I mean, if it works, Moms everywhere could use this and y’all know I love to share a good product with fellow Mamas.
The Process
Using the whitening kit to create my molds was So. Easy. First, you mix the catalyst and base paste together. Second, you spread the mixture into your mouth-guard-style trays and fit them onto your teeth. THAT’S IT. Really, it seems too easy. You have enough product for three attempts (I used two of the three). I packed my trays up and sent them off in the mail and ta-da, custom trays with the perfect fit landed back in my mailbox!
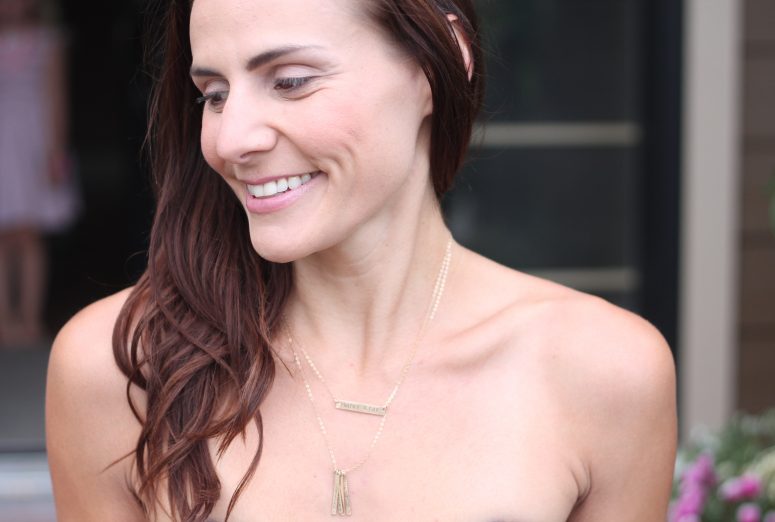
So, how did they work? See for yourself. Below I’m sharing before and after candid pictures to show the true difference (and I really did not want to include this before shot, so take it easy on me!) The first photo is from a day or two before I started the whitening process. When I saw this photo, I kinda cringed at my teeth.
The after shot was taken after FIVE sessions ranging from 20-45 minutes. I am floored. I am so lucky to have naturally straight teeth– dental hygienists always ask if I had braces as a kid because my teeth are so straight; yet I didn’t realize that I had literally turned them off-white with coffee. Yikes.
I have sensitive teeth and a sensitive gum line and I was surprised that the whitening process didn’t bother my teeth at all. I did notice some de-calcification after a few uses (very minimal white spotting on my teeth immediately after removing the trays due to calcium and phosphate being removed with the stains) and the Smile Brilliant team instantly gave me some helpful advice and I had no further issues. (I cut my whitening time down to 20 minutes for my last two sessions and took a one-day break in between. I also made sure to complete the desensitizing gel step afterwards, which eliminated the spots entirely). Their customer service is fantastic, and bonus– no extra trips to the Dentist office 😉
As always, thank you for supporting the brands that keep this space fun! xo
*Contest closes Friday August 11, 2017. Open to USA, UK, Australia, and Canadian residents. The giveaway winner will be selected by our Smile Brilliant. You must fill out the form, including email address, to enter.


I want this! Entering your giveaway!